

The Right Spacing and Control Lines Help a Patio Stay Strong Longer
Edges and joints help a patio last by giving the slab room to move without breaking apart in random places. A good layout helps control cracking, protects the shape of the patio, and keeps water from getting into weak spots. In concrete patio installation, these parts are not just small details. They play a big part in how the finished surface holds up over time.
What You Need Before Starting
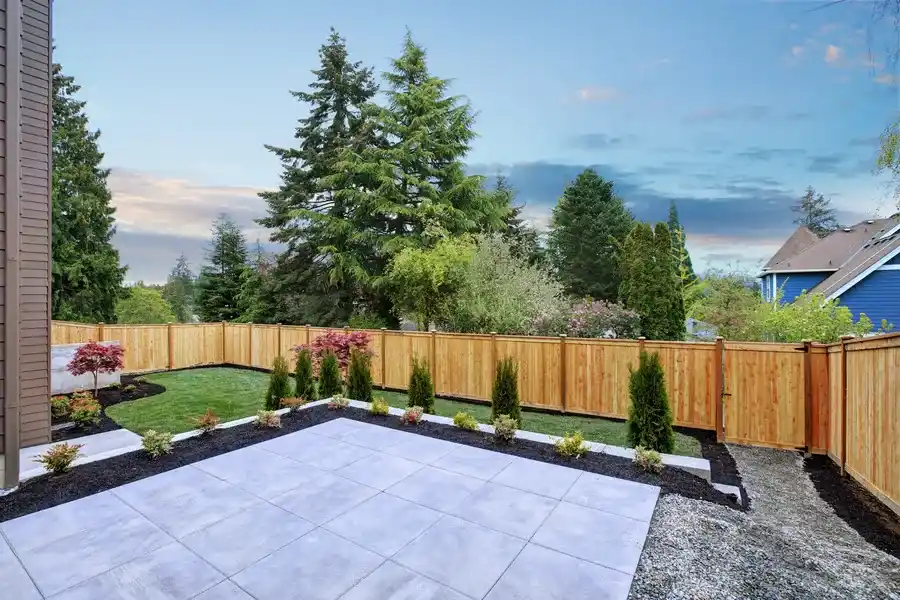
Before planning joints and edges, start with the basic patio layout. You need to know the size, shape, thickness, and use of the slab. A patio for light foot traffic has different needs than one that will hold a grill, large table, or hot tub. You also need to look at the soil, slope, and drainage. Even the best concrete patio installation can fail early if the base is weak or water sits around the edges.
It also helps to know the main types of joints. Control joints guide where small shrink cracks form. Expansion joints create space between the patio and nearby hard surfaces, like a house slab or steps. Clean, finished edges help stop chipping and wear. If your service category includes outdoor flatwork or general hardscape work, the same planning ideas still apply here.
Step-by-Step Process
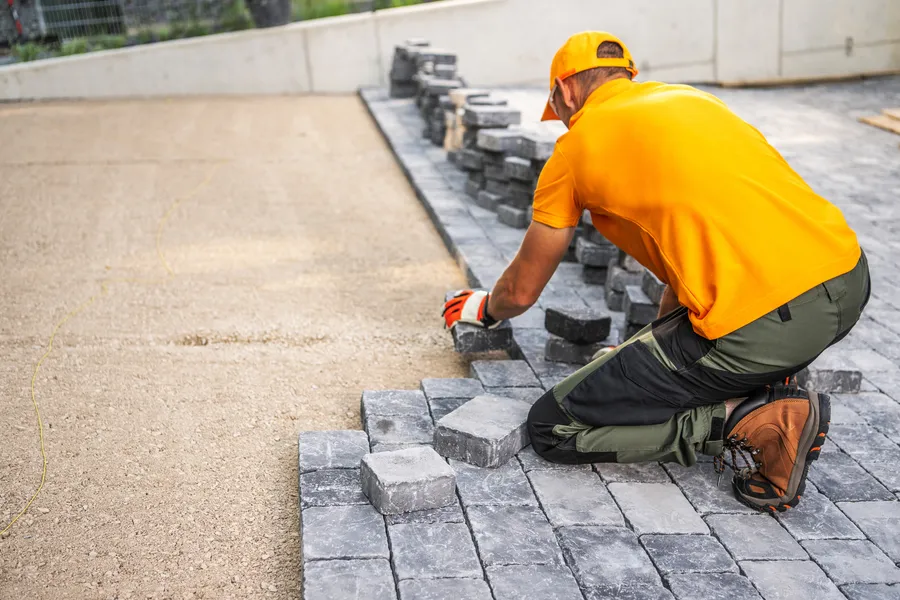
A simple plan makes the work easier and helps the patio age better. Here is the usual process for setting up edges and joints.
- Mark the patio shape and measure all sides.
- Set the height and slope so water drains away.
- Build a firm base with good compacted material.
- Set the forms and make sure the edges are straight.
- Plan control joint spacing before the pour starts.
- Add expansion material where the patio meets other concrete.
- Pour and finish the slab without overworking the surface.
- Cut or tool the joints at the right depth and spacing.
- Finish the edges so they are smooth and less likely to chip.
- Cure the slab well to help it gain strength evenly.
Most patios use control joints placed in a grid or simple pattern. A common rule is to keep joint spacing close to the slab width in feet for each inch of thickness. For example, a 4-inch slab often uses joints around 8 to 12 feet apart, depending on the shape and site conditions. The joints should also be deep enough to do their job. Shallow cuts may not guide cracking well.
Common Mistakes to Avoid
One common mistake is making the patio too large without enough joints. Concrete shrinks as it dries. If there is no planned weak point, it may crack wherever it wants. Another mistake is placing joints in odd spots that do not match the patio shape. That can leave short corners and narrow sections that crack fast.
Bad edge work is also a problem. Thin, rough, or unsupported edges can chip after normal use. This happens a lot near lawn borders, walkway tie-ins, and places where water washes soil away. Some people also skip expansion joints where the patio touches the house. That can lead to pressure between slabs as the weather changes.
Timing matters too. If saw cuts are made too late, random cracks may start first. If cuts are too early, the slab can ravel at the surface. Good concrete patio installation depends on getting this timing right.
When to Call a Professional
Some patio projects are simple, but others need a trained crew. It is smart to get help if the patio has curves, multiple levels, poor drainage, soft soil, or a large layout. A professional can plan joint placement so the pattern looks clean and works well. That is very helpful when the patio wraps around a home, pool, or outdoor kitchen.
Expert help also matters when the slab must meet other surfaces. The connection points between steps, walls, and existing concrete need careful spacing and support. If not, the edges can break down much sooner. A pro can also spot site issues that may not be easy to see at first, like base movement or trapped water.
Best Practices for Long-Term Results
For better long-term results, keep the design simple and balanced. Square and rectangular sections often perform better than long, thin shapes. If the patio has turns or decorative sections, place joints where stress is most likely to build. Try to avoid very small inside corners because they often crack.
- Use a solid, compacted base.
- Keep water draining away from the slab.
- Match joint spacing to slab thickness and shape.
- Use expansion material at fixed surfaces.
- Protect edges from erosion and heavy impact.
- Cure the concrete long enough after the pour.
Sealing can also help in some cases, especially where weather changes are hard on outdoor surfaces. While sealer does not replace good joint planning, it can help reduce water entry and surface wear. Clean edges and working joints together give the patio a better chance at a longer life.
Final Recommendation
If you want a patio that lasts, do not treat edges and joints like an afterthought. They help manage movement, limit random cracking, and protect the slab from early damage. Homeowners in Nampa, ID can contact us for guidance on smart patio planning and lasting results. At Flatstone Concrete LLC, we handle concrete patio installation with careful layout, solid prep, and the right joint spacing for each project. Call us at (208) 254-2202 if you want us to take a look and help you plan the next step.